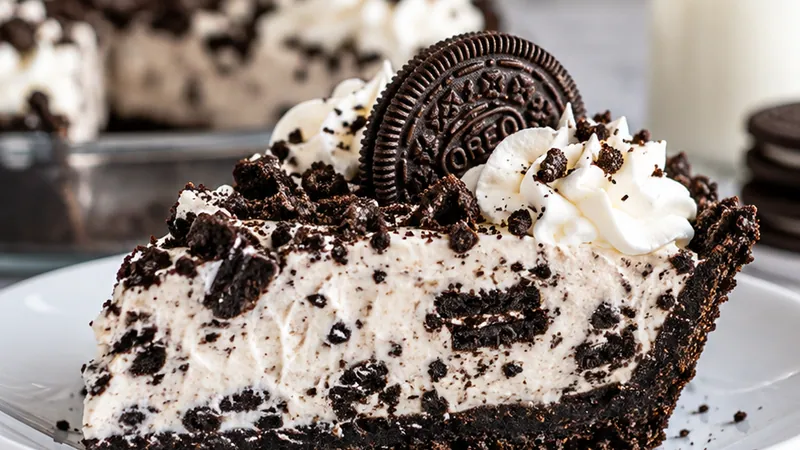
The moment you start crushing Oreos into a gritty, sandy texture and that rich butter aroma fills the kitchen, you know this pie is going to be good, the filling is velvety chocolate and cool cream, finished with a glossy river of melted chocolate that begs for a taste.
This is the dessert you make on a lazy afternoon, when you want to impress friends or just send a little joy to your family after a long day, it is forgiving, fast, and utterly satisfying no matter who is gathering around the table.
 Save
SaveI remember the first time I tried an Oreo pie at a potluck, one bite and I was determined to recreate it at home, now it lives in my rotation for birthdays, holidays, and those nights when I need a little sugar-fueled self care.
Oreo Pie Recipe
Ingredients
Crust
Filling
Topping and Finish
Instructions
- Make the crust
In a medium bowl, combine the Oreo crumbs, melted butter, and sugar until the mixture resembles wet sand and holds together when pressed. Press the mixture firmly and evenly into the bottom and up the sides of a 9 inch pie plate, then chill for 10 minutes to set.
- Whip the cream
In a chilled bowl, beat the heavy whipping cream until stiff peaks form, then set aside in the refrigerator to keep it cold while you prepare the filling.
- Soften the cream cheese
In a large mixing bowl, beat the softened cream cheese, sugar, and vanilla extract with an electric mixer on medium speed until smooth and free of lumps, scraping down the sides as needed.
- Fold in the whipped cream
Gently fold one third of the whipped cream into the cream cheese mixture to lighten it, then carefully fold in the remaining whipped cream until just combined, being careful not to deflate the mixture.
- Assemble and chill
Spread the filling into the chilled Oreo crust, smooth the top with a spatula, cover the pie, and refrigerate for at least 3 hours or up to overnight to allow the flavors to meld and the filling to set.
- Melt the chocolate topping
In a small heatproof bowl, combine the chocolate chips and heavy cream. Microwave in 30 second intervals, stirring in between, until smooth, or use a double boiler over simmering water for a gentle melt.
- Drizzle the top
Pour the melted chocolate over the chilled pie, spreading it gently into an even layer. If the chocolate is too thick, add a teaspoon or two of extra cream to loosen it.
- Chill again
Let the finished pie chill in the refrigerator for 30 minutes, or until the chocolate topping has set and looks glossy.
- Serve
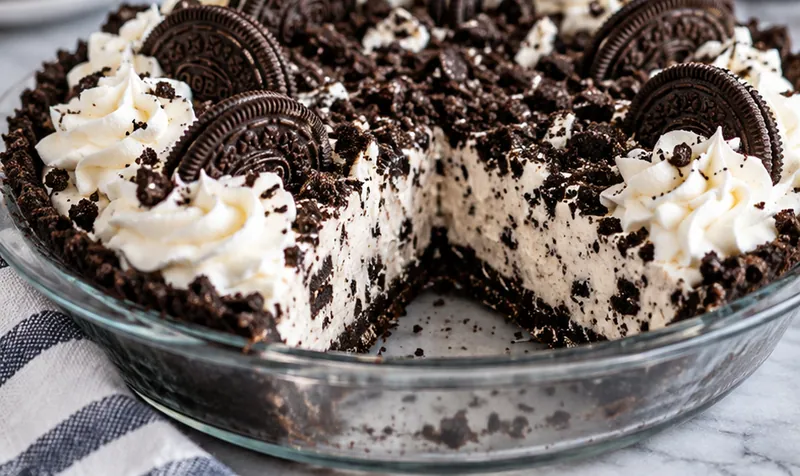
Remove the pie from the refrigerator, run a thin knife around the edge, and slice into wedges. Garnish each slice with extra Oreo crumbs or a whole cookie if desired.
- Enjoy or store
Keep the covered pie in the refrigerator for up to 4 days, bringing it back to the fridge if it softens after being out for serving.
Substitutions and variations
- Use gluten free Oreos or a gluten free cookie blend for a gluten free version.
- Swap cream cheese with an equal amount of mascarpone for a slightly lighter texture.
- If you do not have heavy whipping cream, cool coconut cream can stand in for a dairy free option.
- Dark chocolate chips can replace semi sweet for a deeper, less sweet chocolate flavor.
Chloe's tips
- For extra flavor, toast the bottom crust lightly before adding the filling.
- Always use full fat cream cheese for the creamiest, most stable texture.
- If the kitchen is warm, chill the filling and whipped cream longer before folding to prevent a runny pie.
How to store it
- Cover and refrigerate for up to 4 days.
- Freeze for up to 1 month; thaw in the refrigerator overnight before serving.
Serving suggestions
Serve this pie with a dollop of whipped cream, a sprinkle of Oreo crumbs, or a few fresh berries for a beautiful presentation.
- Classic style with extra Oreo crumbs on top
- Add a scoop of vanilla ice cream for a cool contrast
- Dust with cocoa powder just before serving
- Pair with a glass of cold milk
Frequently asked questions
Can I make this pie a day ahead?
Yes, in fact the flavors improve overnight, so assembling it a day before serving is highly recommended.
Why is my filling runny?
Run filling usually means the cream cheese was too warm or the whipped cream was overbeaten; chill everything before folding and fold gently.
Can I use a different type of cookie?
You can, but the taste and texture will change; graham crackers work, though the classic Oreo flavor is hard to beat.
Let's get cooking!
This Oreo pie is a foolproof showstopper that brings joy with every bite, so go ahead, give it a try and share the love with the people you care about.