
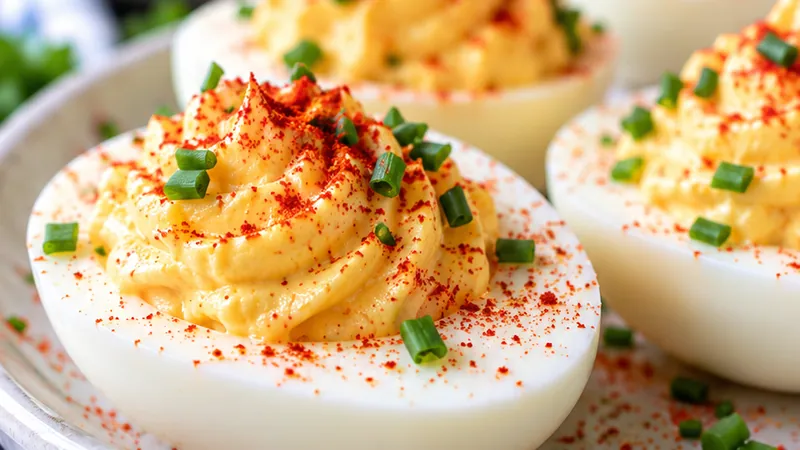
There is something so comforting about a platter of deviled eggs. The whites are tender and cool, the filling is whipped until it is smooth as velvet, and every bite has that perfect balance of creamy richness, gentle tang and a little sweetness from the relish. A dusting of smoky paprika on top makes them look as good as they taste.
Deviled eggs are my go-to whenever I need a crowd-pleaser that I can make the day before. They show up at Easter brunch, Thanksgiving, summer barbecues, baby showers and game day spreads, and they always fit right in. They are inexpensive, naturally gluten-free and need only a handful of pantry staples you probably already have.
 Save
I learned to make these standing next to my grandma, who swore the secret was mashing the yolks completely before adding anything else. She was right. Once you try this method, with eggs that peel cleanly and a filling with no lumps at all, you will never need another deviled egg recipe again.
Classic Deviled Eggs
Ingredients
Eggs
Filling
Garnish
Instructions
- Set Up the Pot
Place the 12 eggs in a single layer in a large saucepan. Pour in enough cold water to cover the eggs by about 1 inch. Starting with cold water helps the eggs heat evenly and keeps the shells from cracking.
- Bring to a Boil
Set the saucepan over medium-high heat and bring the water to a full rolling boil, which takes about 8 minutes. As soon as it boils, cover the pan with a lid and remove it from the heat.
- Let the Eggs Sit
Leave the eggs in the covered pan of hot water for 12 minutes. This gentle cooking gives you firm, fully set yolks that are bright yellow without any gray-green ring around the edges.
- Prepare the Ice Bath
While the eggs sit, fill a large bowl with the 4 cups of ice cubes and add enough cold water to make a slushy bath that will fully submerge the eggs.
- Chill the Eggs
Use a slotted spoon to transfer the eggs straight into the ice bath. Let them chill for 10 minutes. The quick temperature change stops the cooking and helps the whites pull away from the shells, so they peel more easily.
- Peel the Eggs
Gently tap each egg on the counter all over to crack the shell, then roll it under your palm. Start peeling at the wider end, where the air pocket sits, and peel under a thin stream of cool running water to rinse away any small bits of shell. Pat the peeled eggs dry with paper towels.
- Halve and Remove the Yolks
Slice each egg in half lengthwise with a sharp knife, wiping the blade clean between cuts for neat edges. Carefully pop the yolks out into a medium bowl and arrange the 24 white halves, hollow side up, on a serving platter.
- Mash the Yolks
Mash the yolks with a fork until they look like fine, sandy crumbs with no lumps remaining. For the smoothest possible filling, press them through a fine-mesh sieve instead.
- Mix the Filling
Add the mayonnaise, Dijon mustard, white vinegar, drained sweet pickle relish, kosher salt and black pepper to the mashed yolks. Stir with a spatula until the filling is creamy and fluffy. Taste and add a pinch more salt if needed.
- Fill the Egg Whites
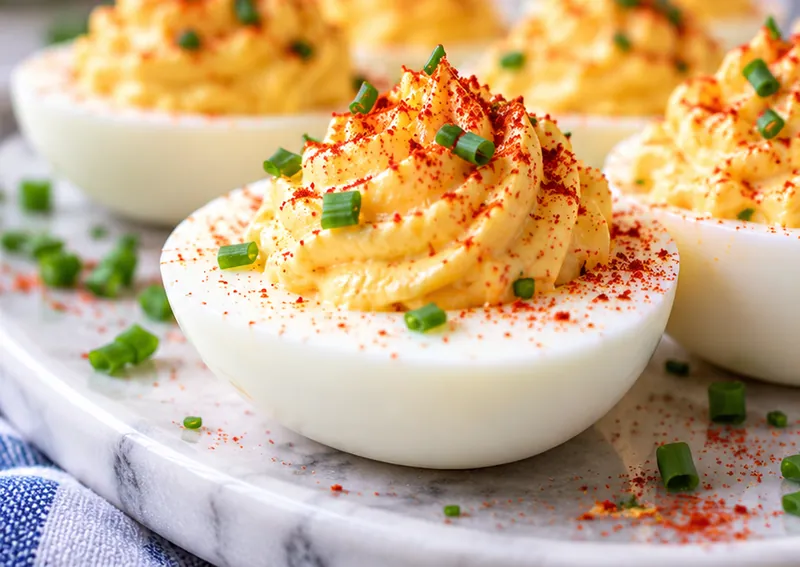
Spoon the filling into a piping bag fitted with a large star tip, or into a zip-top bag with one corner snipped off. Pipe a generous swirl of filling into each egg white half, about 1 heaping tablespoon per egg.
- Garnish and Chill
Dust the tops lightly with the smoked paprika and sprinkle with the chopped chives. Serve right away, or cover loosely and refrigerate for up to 4 hours so the flavors can meld and the filling firms up slightly.
Substitutions and variations
- Swap the sweet pickle relish for dill relish or finely chopped dill pickles if you prefer a sharper, more savory filling.
- Use plain Greek yogurt for half of the mayonnaise to make a lighter filling with a little extra tang.
- Replace the Dijon with classic yellow mustard for the old-fashioned flavor many of us grew up with.
- For a spicy twist, stir 1 teaspoon of hot sauce into the filling and top each egg with a thin slice of jalapeño.
- Crumble 4 slices of cooked bacon over the top instead of chives for a smoky, salty crunch.
Chloe's tips
- Eggs that are 7 to 10 days old peel much more easily than very fresh eggs, so buy them a week ahead if you can.
- Drain the relish well on a paper towel so the filling stays thick and pipes cleanly.
- Place a damp paper towel under the egg whites on the platter to keep them from sliding around while you fill and transport them.
- If the filling seems stiff, add mayonnaise 1 teaspoon at a time until it reaches a soft, pipeable texture.
How to store it
- Store assembled deviled eggs in an airtight container in the refrigerator for up to 2 days.
- To make ahead, keep the egg whites and filling separate, both covered and refrigerated, for up to 2 days, then fill just before serving.
- Add the paprika and chives right before serving so the garnish stays fresh and vibrant.
- Do not freeze deviled eggs, because the whites turn rubbery and watery once thawed.
- Keep deviled eggs out of the refrigerator no longer than 2 hours, or 1 hour on a hot summer day.
Serving suggestions
These deviled eggs fit beautifully alongside almost any spread, from casual cookouts to holiday dinners.
- Serve on a deviled egg tray as part of an Easter or Thanksgiving appetizer table
- Pair with fried chicken, potato salad and coleslaw for a classic summer picnic
- Add to a brunch spread with fresh fruit, biscuits and a baked ham
- Set out with veggie trays, chips and dips for game day snacking
Frequently asked questions
How far ahead can I make deviled eggs?
You can boil and peel the eggs and make the filling up to 2 days ahead. Store the whites and the filling separately in the refrigerator, then pipe and garnish within a few hours of serving for the best look and texture.
Why is there a green ring around my yolks?
A gray-green ring forms when eggs are overcooked or cooled too slowly. Taking the pan off the heat after it boils, timing the 12-minute rest and moving the eggs straight into an ice bath prevents it.
How do I keep my eggs from being hard to peel?
Use eggs that are about a week old, chill them in an ice bath right after cooking, and start peeling from the wide end under cool running water. These steps help the shell and membrane slip off cleanly.
Can I make deviled eggs without relish?
Absolutely. Simply leave out the relish and add an extra 1/2 teaspoon of vinegar to keep the filling bright and tangy. The eggs will be slightly smoother and more savory.
Let's get cooking!
Once you make these classic deviled eggs, they are sure to become your signature party dish. They are simple, affordable and always the first thing to vanish from the table. So boil a dozen eggs, grab your piping bag and get ready for the compliments to roll in. Happy cooking, friend!