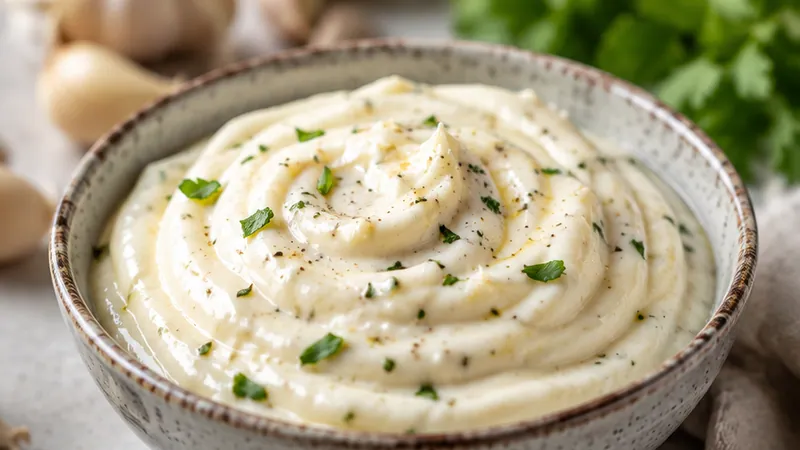
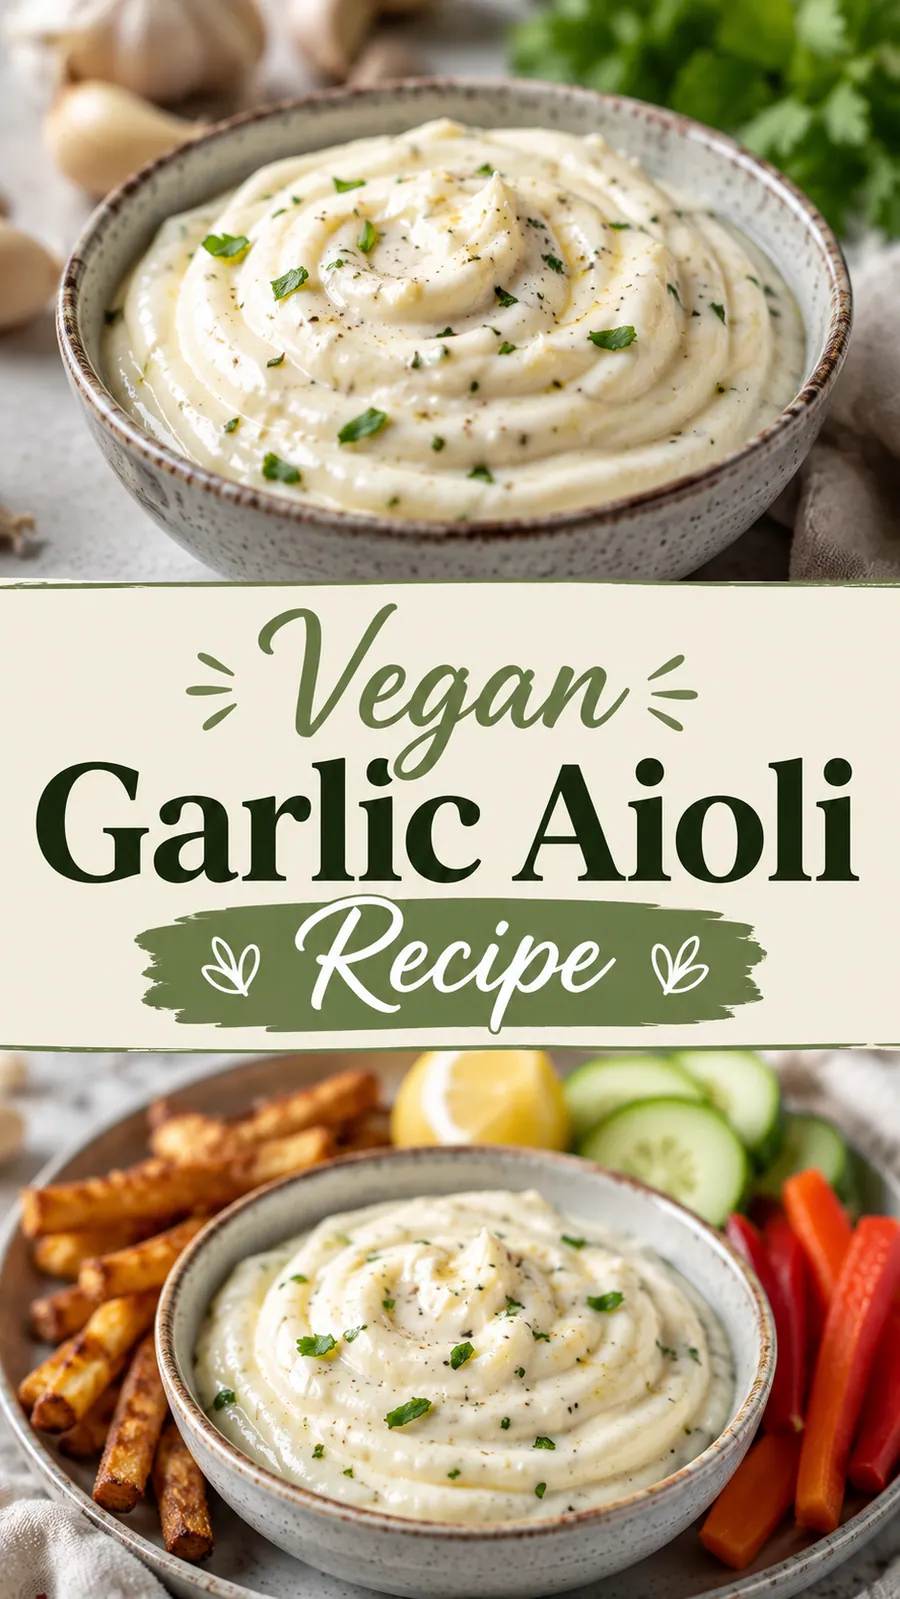
This velvety Vegan Garlic Aioli pours thick and glossy, with a punch of roasted garlic and a bright whisper of lemon that makes every bite feel a little indulgent yet completely kind to your plate.
You will want to make it on a Sunday while meal prepping sandwiches, tossing crisp salads, or upgrading weeknight fries, because it keeps well in a sealed jar and brings restaurant flavor to your kitchen counter.
 Save
SaveI first tested this in my own tiny apartment kitchen, drizzling it over grilled veggies and sneaking spoonfuls as a dip, and it instantly became the secret flavor bomb I reach out to whenever I need cozy food done with a fresh twist.
Vegan Garlic Aioli Recipe
Ingredients
Instructions
- Roast the garlic
Preheat your oven to 400 degrees Fahrenheit. Slice off the top of the garlic head to expose the cloves, drizzle with a teaspoon of oil, wrap in foil, and roast for 35 to 40 minutes until the cloves are soft and golden. Let cool, then squeeze the cloves out of their skins into a small bowl.
- Soften the cashews
Place the cashews in a heatproof bowl, pour very hot water over them, and let them soak for 15 minutes. Drain and pat dry to remove excess moisture for a smoother blend.
- Combine in a blender
Add the roasted garlic, soaked cashews, lemon juice, salt, white pepper, maple syrup, and water to a high speed blender or food processor. Start on low and gradually increase to high.
- Stream in the oil
With the blender running on medium speed, slowly pour the oil in a thin, steady stream through the lid opening. Stop occasionally to scrape down the sides until the mixture turns thick and creamy.
- Taste and adjust seasoning
Give the aioli a taste and add more salt, lemon juice, or a touch more maple syrup until it feels balanced to you.
- Blend until silky
Blend for another 20 to 30 seconds until the texture is completely smooth, almost like a light mayonnaise.
- Transfer to a jar
Scrape the aioli into a clean jar or bottle, cover tightly, and shake gently. If it seems too thick, whisk in a tablespoon or two of water until it reaches your desired spreadable consistency.
- Chill to let flavors meld
Refrigerate for at least 30 minutes before using, letting the garlic mellow and the lemon brighten through.
- Store with care
Keep the aioli in the refrigerator in a sealed container for up to four days. Stir gently before each use.
- Serve and enjoy
Dollop it on sandwiches, drizzle over roasted veggies, or pair with crispy fries for a quick weeknight comfort upgrade.
Substitutions and variations
- If you prefer a lighter version, use 1/3 cup cooked and drained cauliflower instead of cashews.
- Replace lemon juice with lime juice for a slightly different citrus note.
- Use sunflower seed butter instead of cashews for a nut free option.
- Swap avocado oil for olive oil if you like a stronger olive flavor.
Chloe's tips
- For extra silkiness, add a teaspoon of Dijon mustard while blending.
- If you do not have a high speed blender, use an immersion blender in a tall jar and work in small batches.
- Roast extra garlic cloves to keep on hand for quick weeknight meals.
- Always use hot water for soaking to soften cashews faster and improve texture.
How to store it
- Refrigerate in a tightly sealed jar for up to four days.
- If the aioli thickens in the fridge, whisk in a little water before serving.
Serving suggestions
This bright, garlicky Vegan Garlic Aioli is incredibly versatile.
- As a creamy spread for veggie burgers or wraps
- Tossed with warm roasted potatoes or salads
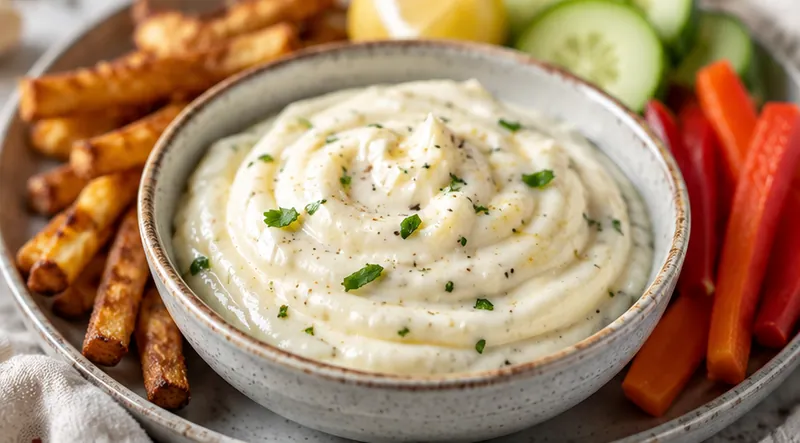
- Paired with air fried or oven roasted fries
- Swirled into soups or used as a sauce base
Frequently asked questions
Can I make this nut free?
Yes, replace the cashews with an equal amount of cooked cauliflower or sunflower seed butter for a nut free version with a slightly different texture.
Why is my aioli thin and not thickening?
Make sure the cashews are very soft, use hot water for soaking, and add the oil slowly while the blender is running. If it is still thin, whisk in a little more water or a spoonful of prepared mustard to help emulsify.
How long will it keep in the fridge?
Stored in a sealed jar in the refrigerator, it will stay fresh for up to four days. Give it a quick stir or add a teaspoon of water before using if it thickens.
Can I double the recipe?
Absolutely, this recipe scales easily. Use a larger blender or work in two batches to keep the emulsification smooth.
Let's get cooking!
This Vegan Garlic Aioli is quick to make, endlessly adaptable, and guaranteed to add a rich, creamy punch to your favorite plant based dishes, one silky spoonful at a time.