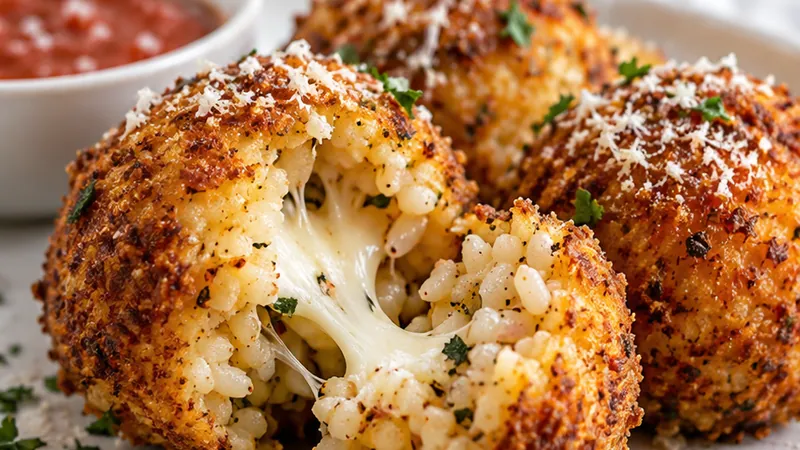
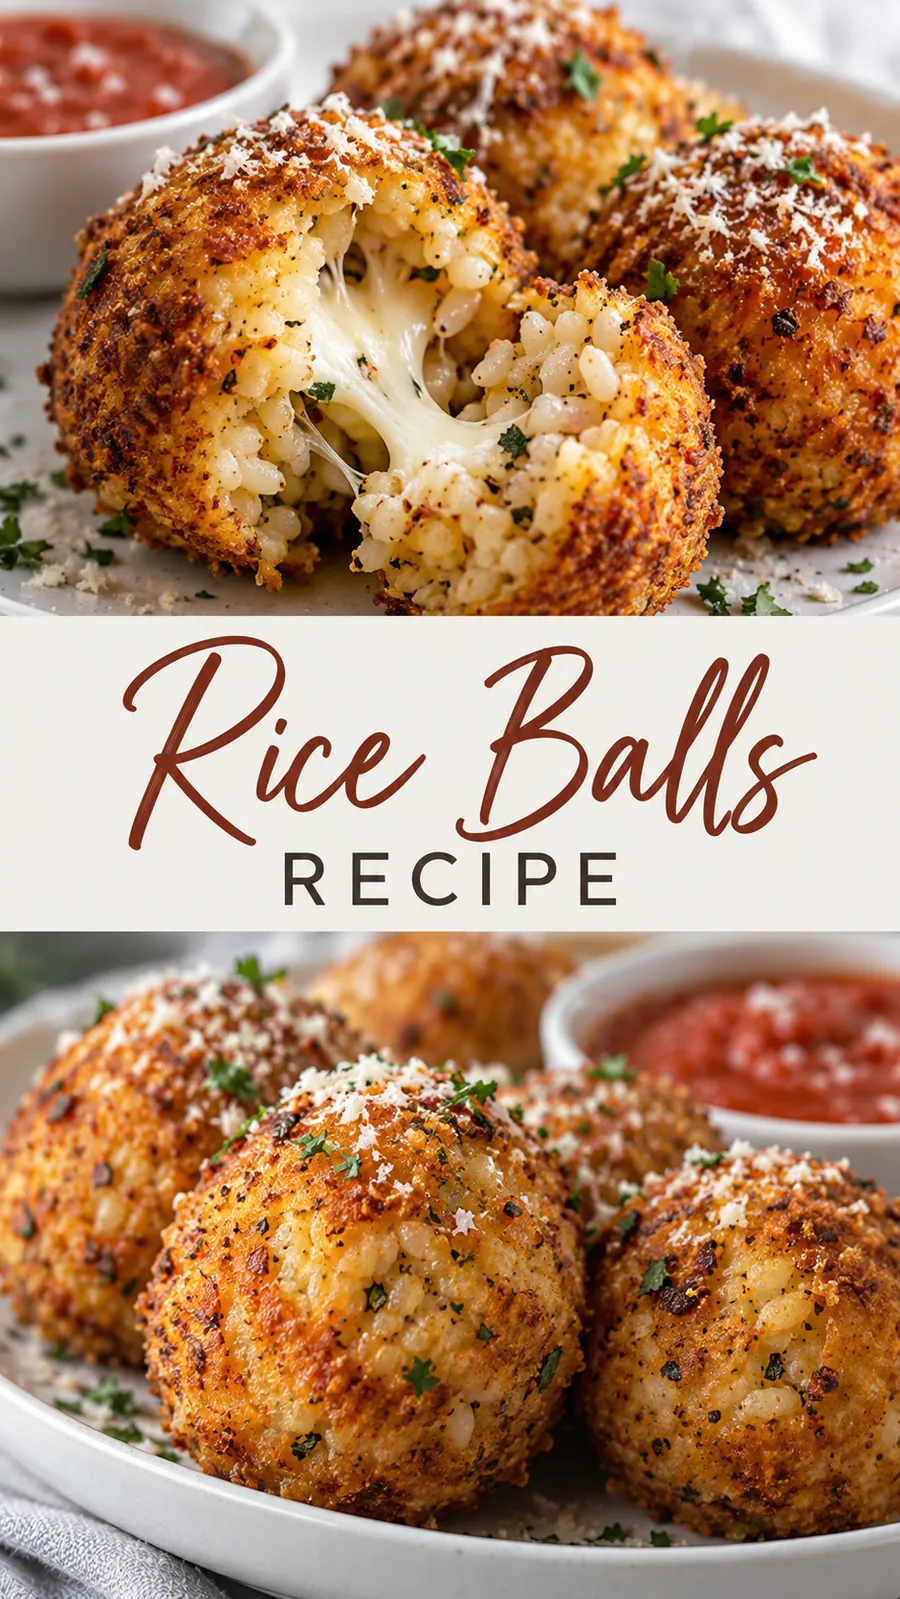
There is something so satisfying about watching rice crisp up in hot oil, turning from soft little scoops into golden, crunchy bites that smell toasty and savory the moment they hit the pan.
I love making these on a relaxed weekend afternoon when I want a simple, ready-to-grab snack that feels special without any fuss.
 Save
SaveWhenever I share them at game night or pack them for a picnic, friends always ask for the recipe, and I love passing along this easy, crowd-pleasing treat.
Rice Balls Recipe
Ingredients
Rice mixture
Coating and frying
Finishing
Instructions
- Combine rice mixture
In a medium bowl, stir warm sushi rice with panko, mayonnaise, soy sauce, sesame oil, garlic powder, black pepper, and one tablespoon of green onions until evenly coated and slightly sticky.
- Chill the mixture
Cover the rice mixture and let it rest in the refrigerator for 15 minutes; this helps the flavors meld and makes the mixture easier to shape.
- Shape the rice balls
Using damp hands, scoop about 2 tablespoons of the mixture, press gently into a small flat disc, add a teaspoon of extra filling if desired, and roll into a compact ball roughly the size of a large walnut.
- Set up your breading station
Place the flour in a shallow dish, beaten eggs in a second dish, and panko in a third dish so each rice ball can be dusted, dipped, and rolled easily.
- Coat each rice ball
Dust a rice ball in flour, shake off excess, dip it into the beaten eggs, let excess drip off, then roll firmly in panko until fully covered and lightly pressed into a crust.
- Heat the oil
Pour oil into a heavy skillet to about 1 1/2 inches deep and heat over medium heat until it reaches 350°F; a small pinch of panko should sizzle vigorously when added.
- Fry until golden
Carefully lower 3 or 4 rice balls into the hot oil and fry, turning gently, for 2 to 3 minutes until deeply golden and crisp; do not crowd the pan.
- Drain and cool
Transfer the fried rice balls to a wire rack set over a baking sheet or layered paper towels for a minute before serving to let excess oil drip off and keep the crust extra crisp.
- Finish and serve
Serve the hot rice balls with a small ramekin of mayonnaise, a sprinkle of flaky salt, and a shower of green onions or sesame seeds for color and richness.
- Enjoy or reheat smartly
Eat them right away for the crispiest texture; if storing, keep in an airtight container in the fridge and reheat in a 400°F oven for 6 to 8 minutes to refresh the coating.
Substitutions and variations
- Use day old rice if you prefer firmer grains that hold their shape.
- Swap in gluten free breadcrumbs and a gluten free flour for a gluten free version.
- Replace mayonnaise with Greek yogurt for a tangy yet lighter coating.
- Use shredded cheddar or mozzarella in the rice mixture for a gooey center.
- For baking instead of frying, form balls, place on a parchment lined tray, and bake at 425°F for 20 to 25 minutes until golden.
Chloe's tips
- Keep rice balls tight and compact so they hold their shape during frying.
- Use a thermometer or a cube of bread to check that the oil is at the right temperature for even cooking.
- Let the coated balls rest for a minute before frying so the coating sets and stays on securely.
- Do not skip the wire rack for draining; it keeps the bottoms from getting soggy.
How to store it
- Store cooled rice balls in a single layer in an airtight container in the refrigerator for up to 2 days.
- Reheat in a 400°F oven for 6 to 8 minutes, or until the coating is crisp and the center is hot.
Serving suggestions
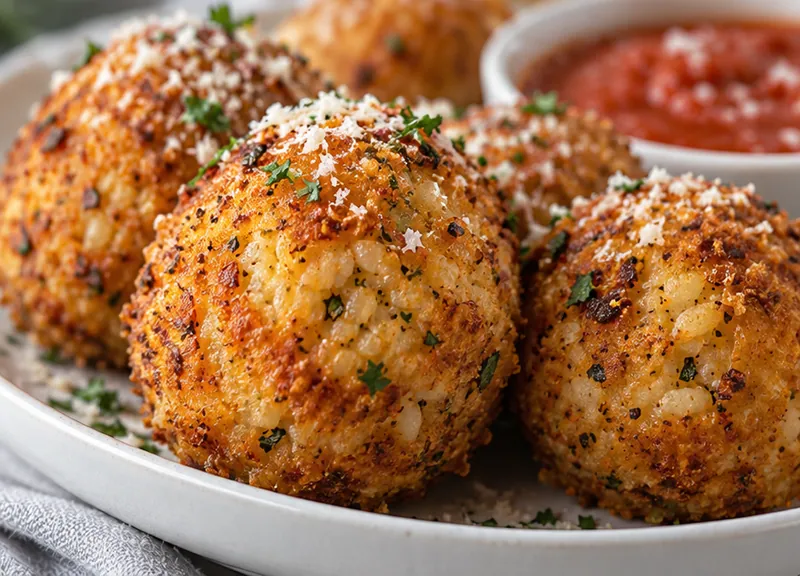
These rice balls are fantastic straight from the skillet and pass easily as party snacks or game day bites.
- Place on a platter with toothpicks for easy grabbing.
- Pair with a chilled sake or a light beer for a fun tasting spread.
- Add a small dish of soy sauce or spicy mayo for dipping.
- Garnish with sesame seeds and extra green onions for a polished, restaurant style look.
Frequently asked questions
Can I make these ahead and freeze them?
Yes, assemble and freeze the coated rice balls on a tray, then transfer to a freezer bag; fry from frozen and add a few extra minutes to the cook time until heated through and crisp.
What if I do not have panko at home?
Use plain dried breadcrumbs or crushed cornflakes as a simple, crunchy alternative that still gives a great crust.
Can I bake these instead of frying?
Absolutely; after coating, spray the rice balls lightly with oil and bake at 425°F for 20 to 25 minutes, flipping halfway through, until golden and crisp.
Why did my rice balls fall apart in the oil?
This usually happens if the rice mixture is too wet or warm, the coating did not set properly, or the oil temperature is too low; chill the mixture, press the coating on firmly, and make sure the oil is hot before frying.
Let's get cooking!
These rice balls are a simple, endlessly customizable snack that bring a playful crunch to any moment, and once you master the basics you will love how easy they are to customize and share with friends.