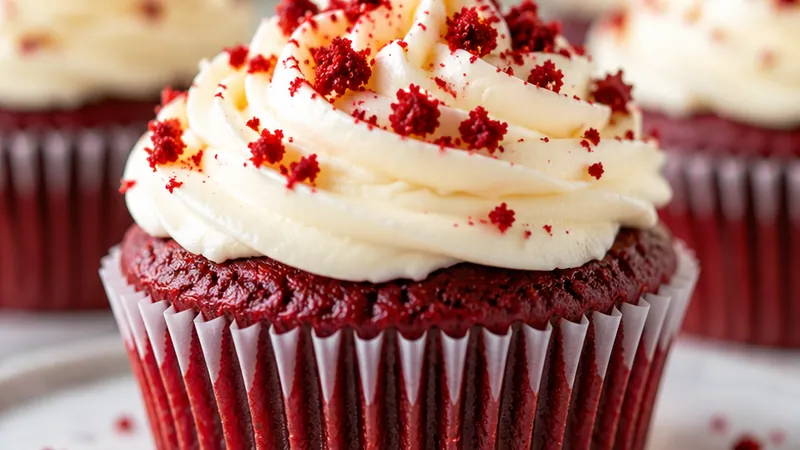
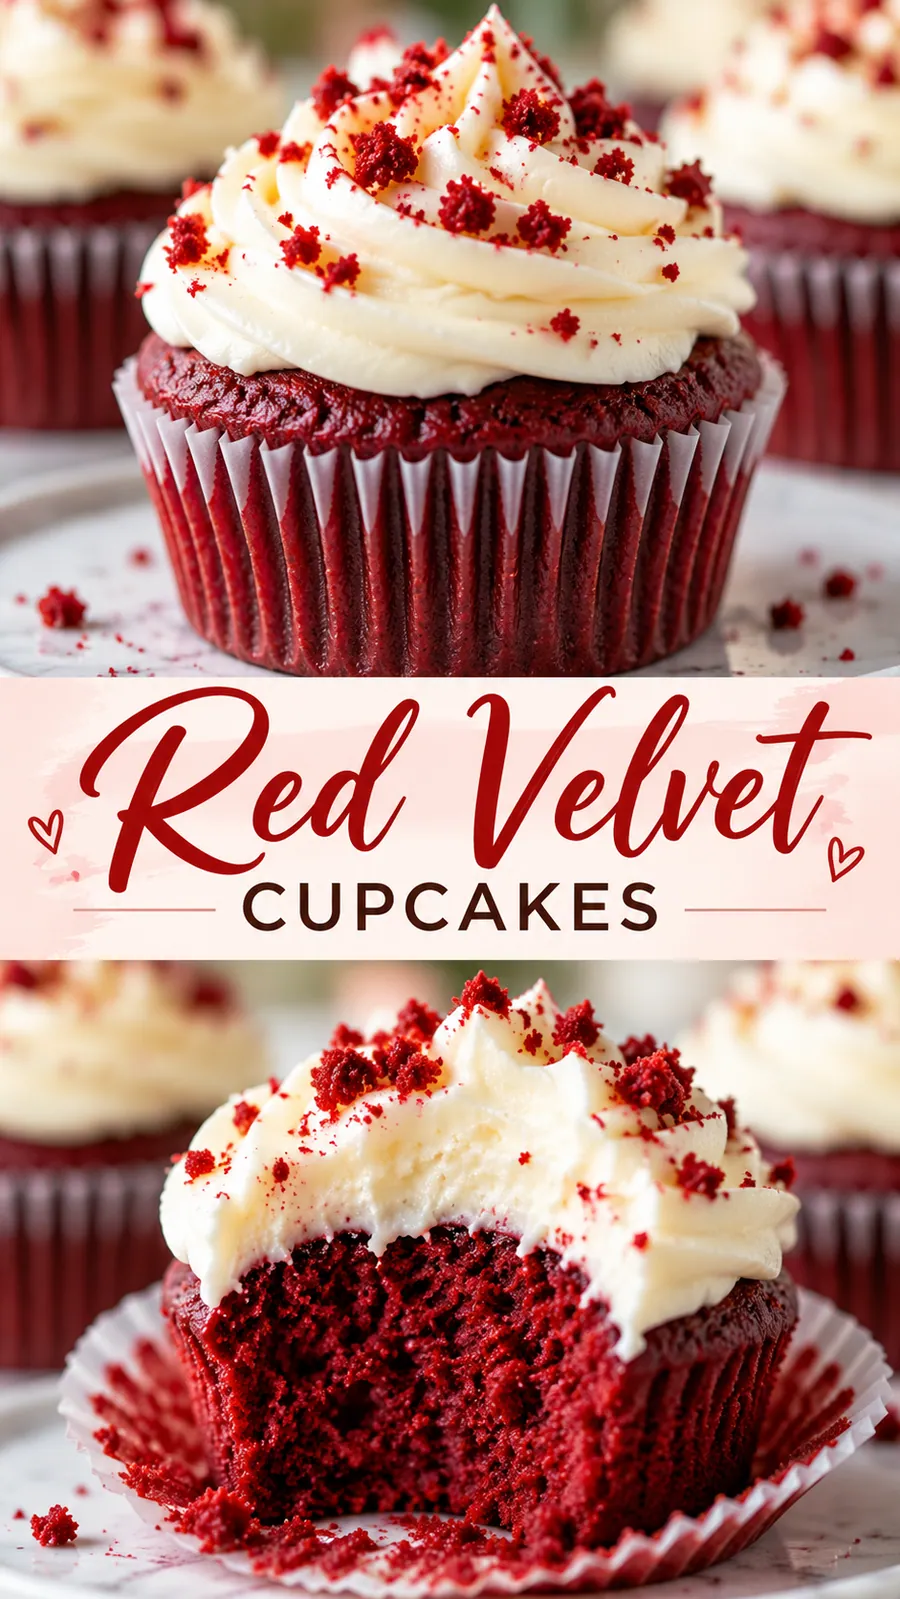
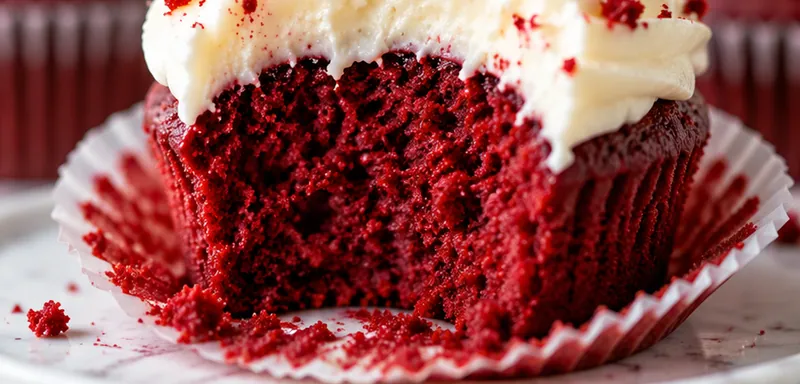
Red velvet cupcakes are a little bit of magic in a paper liner. The crumb is plush and almost cloud-like, the color is a gorgeous deep ruby, and the cocoa is so soft that it whispers instead of shouting. Piled high with tangy cream cheese frosting, each bite is sweet, creamy and just a touch tangy.
This is the cupcake recipe to bake when you want something that looks special without any fancy skills. It is wonderful for Valentine's Day, Christmas parties, baby showers, birthdays and bake sales. The batter comes together in one bowl and a measuring cup, and the cupcakes bake in about 20 minutes, so you can have a whole dozen ready in an afternoon.
 Save
I still remember the first time I brought a tray of these to a family get-together and watched them disappear before the coffee was even poured. Someone always asks for the recipe, and I love saying it is much easier than it looks. Grab your muffin tin and a bottle of red food coloring, and let's bake something lovely.
Red Velvet Cupcakes
Ingredients
Red Velvet Cupcakes
Cream Cheese Frosting
Instructions
- Prep the pan and oven
Position a rack in the center of the oven and heat it to 350°F. Line a 12-cup muffin tin with paper liners. Take the butter, egg, buttermilk and cream cheese out of the refrigerator about an hour ahead so they reach room temperature, which helps the batter mix smoothly.
- Whisk the dry ingredients
In a medium bowl, whisk together the flour, cocoa powder, baking soda and salt until the cocoa is evenly spread through the flour with no streaks. Set the bowl aside.
- Cream the butter and sugar
In a large bowl, beat the softened butter and granulated sugar with a hand mixer on medium-high speed for 2 to 3 minutes, until the mixture looks pale, light and fluffy. Scrape down the sides of the bowl once or twice during mixing.
- Add the egg, vanilla and color
Beat in the egg and vanilla extract until fully combined, about 1 minute. Add the red food coloring and mix until the batter is a bright, even red with no pale streaks.
- Combine the buttermilk and vinegar
Stir the vinegar into the buttermilk in a liquid measuring cup. Add about one third of the flour mixture to the butter mixture and mix on low speed just until combined, then pour in half of the buttermilk. Repeat with another third of the flour, the rest of the buttermilk, and finish with the last of the flour.
- Finish the batter
Stop the mixer as soon as no dry flour is visible. Scrape the bottom and sides of the bowl with a rubber spatula and fold a few times by hand to make sure everything is evenly mixed. The batter should be thick but pourable, and overmixing will make the cupcakes tough.
- Fill the liners
Use a large cookie scoop or two spoons to divide the batter evenly among the 12 liners, filling each about two-thirds full. Tap the pan gently on the counter once to release any large air bubbles.
- Bake until springy
Bake for 18 to 22 minutes, rotating the pan once halfway through, until the tops spring back when lightly pressed and a toothpick inserted in the center comes out clean or with a few moist crumbs. Avoid opening the oven door during the first 15 minutes.
- Cool completely
Let the cupcakes cool in the pan for 5 minutes, then move them to a wire rack. Allow them to cool completely, about 45 minutes, before frosting, since warm cupcakes will melt the frosting into a puddle.
- Make the frosting
In a large bowl, beat the cream cheese and butter on medium speed for 2 minutes until smooth and creamy with no lumps. Add the sifted powdered sugar a little at a time on low speed, then beat in the vanilla and salt. Increase the speed to medium-high and whip for 1 minute until fluffy.
- Frost and serve
Spoon the frosting into a piping bag fitted with a large star or round tip, and pipe a generous swirl on each cooled cupcake. You can also spread it on with a small offset spatula. Chill for 10 minutes if you want the frosting to set slightly before serving.
Substitutions and variations
- If you do not have buttermilk, stir 1/2 tablespoon of white vinegar into 1/2 cup of whole milk, let it sit for 5 minutes, then use it as written.
- Gel food coloring gives a deeper red with less liquid, so use about 1 teaspoon of gel in place of the tablespoon of liquid coloring.
- For a natural color, you can use 2 tablespoons of beet powder, though the cupcakes will bake up a slightly browner shade of red.
- Mascarpone can replace half of the cream cheese in the frosting for a milder, extra creamy swirl.
- To make mini cupcakes, fill a mini muffin tin two-thirds full and bake for 10 to 12 minutes.
Chloe's tips
- Use room temperature ingredients so the batter blends smoothly and the cupcakes bake with an even, tender crumb.
- Measure the flour by spooning it into the measuring cup and leveling it off, or weigh it, because packed flour makes dry cupcakes.
- Do not skip the vinegar and buttermilk pairing, since it reacts with the baking soda for a soft rise and that classic velvety texture.
- Sift the powdered sugar before mixing it into the frosting to avoid tiny lumps.
- If the frosting feels too soft, chill it for 15 minutes before piping, and if it feels too stiff, beat in a teaspoon of milk.
How to store it
- Store frosted cupcakes in an airtight container in the refrigerator for up to 4 days, and let them sit at room temperature for 20 minutes before serving.
- Freeze unfrosted cupcakes in a freezer bag for up to 2 months, then thaw at room temperature before frosting.
- Keep leftover frosting in a covered container in the refrigerator for up to 1 week and re-whip it briefly before using.
Serving suggestions
These cupcakes look pretty on any dessert table and pair well with something warm or cold to sip.
- Top with red sprinkles or heart-shaped sprinkles for Valentine's Day.
- Serve with a hot cup of coffee or a glass of cold milk.
- Garnish with fresh raspberries or a sprinkle of white chocolate shavings.
- Arrange on a cake stand for birthdays, showers and holiday parties.
Frequently asked questions
Why do red velvet cupcakes use vinegar?
The vinegar reacts with the baking soda and buttermilk to give the cupcakes a light, tender crumb. It also helps keep the red color bright by reacting with the cocoa.
Does red velvet taste like chocolate?
Red velvet has only a hint of cocoa, so it tastes more like a soft vanilla cupcake with a subtle chocolate note and a gentle tang from the buttermilk.
Why did my cupcakes turn out dry?
Dry cupcakes are usually caused by too much flour or by baking them too long. Spoon and level your flour, and start checking for doneness at 18 minutes.
Can I make these cupcakes ahead of time?
Yes. Bake the cupcakes up to 2 days ahead and keep them covered at room temperature, then frost them the day you plan to serve. The frosting can also be made a day ahead and kept in the refrigerator.
Let's get cooking!
There is something so cheerful about a tray of ruby red cupcakes with fluffy white frosting. Bake a batch for someone you love, or simply treat yourself, and enjoy every velvety, tangy-sweet bite!