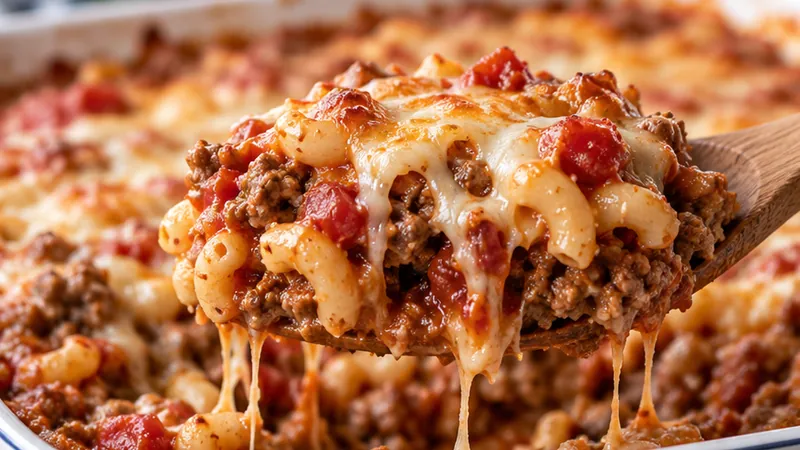
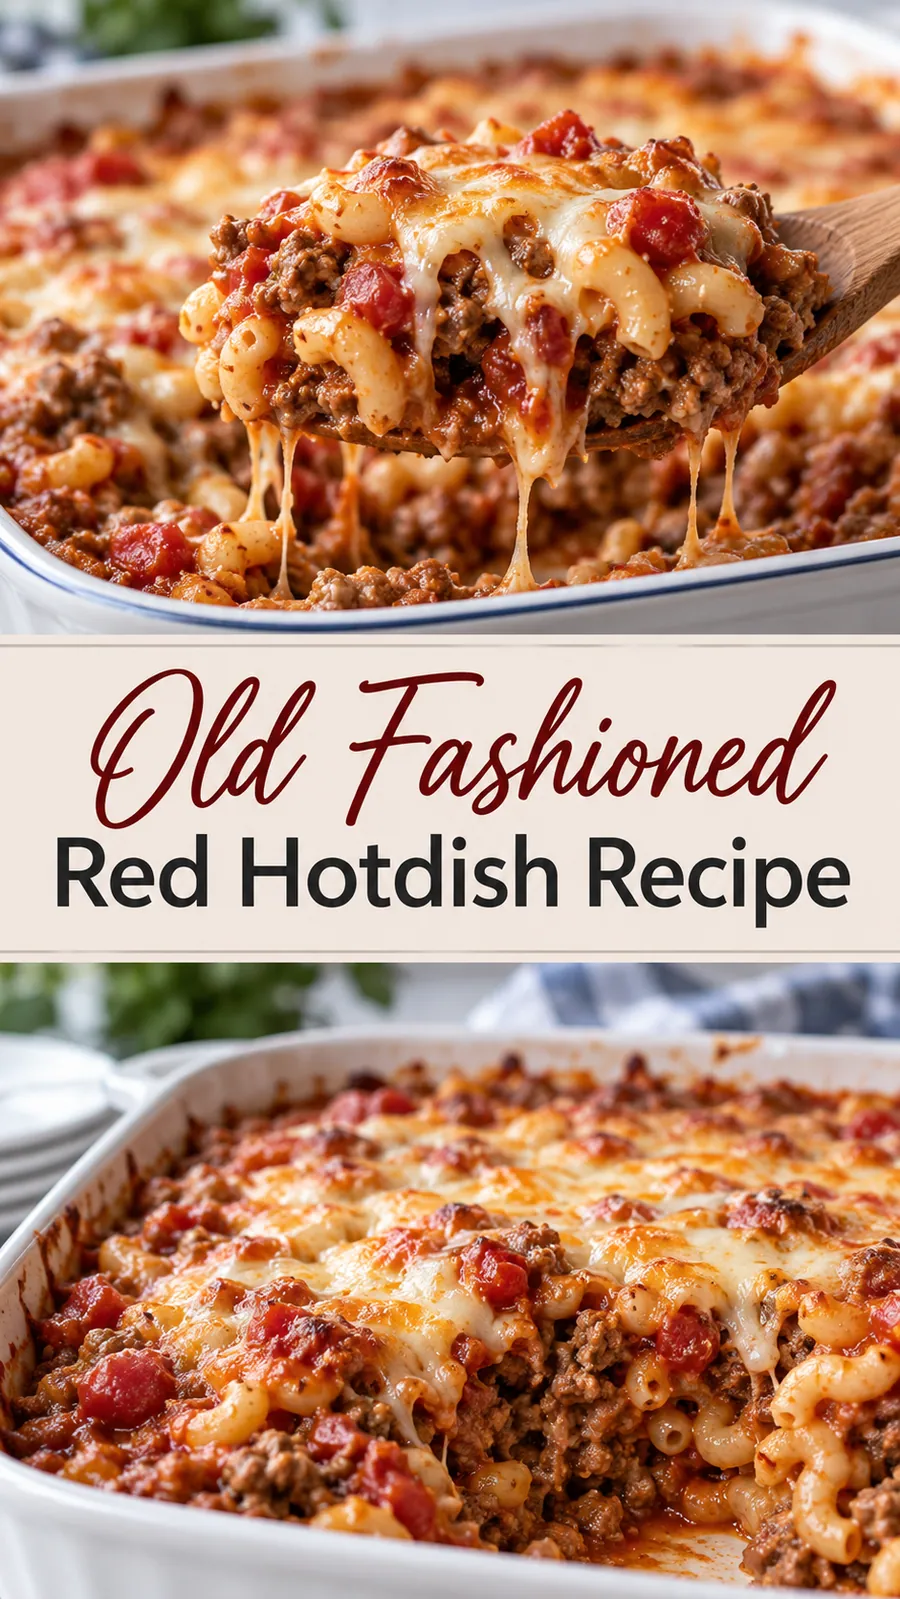
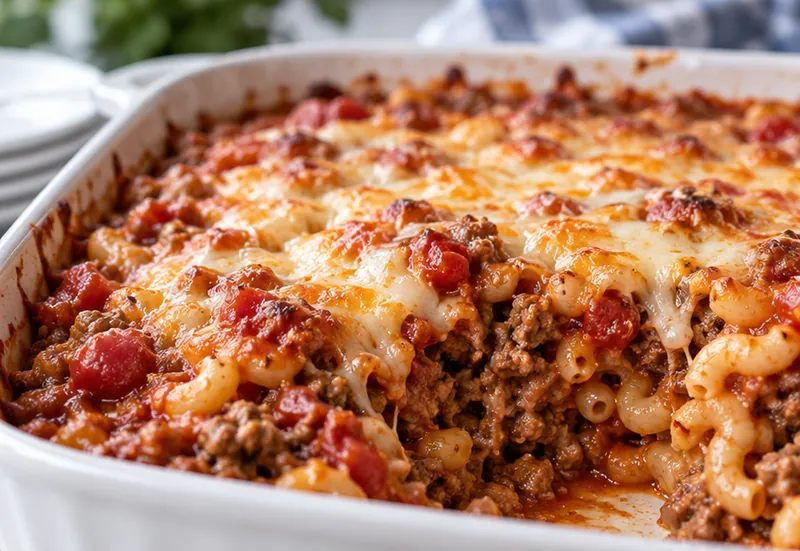
From the first whiff of savory beef and tangy tomatoes rising from the oven, you know you are in for serious comfort food joy, with a golden potato crust giving way to tender, juicy meat in every forkful.
This is the kind of dish you make when the weather turns chilly, the house needs a little warmth, and you want something easy enough for a weeknight yet hearty enough for Sunday supper.
 Save
SaveI grew up watching my grandmother slide one of these into the lineup of holiday casseroles, and every time that bubbly top breaks to reveal those steamy, rosy layers, I feel that same happy, nostalgic glow.
Old Fashioned Red Hotdish Recipe
Ingredients
Casserole Base
Toppings
Instructions
- Preheat and prep
Preheat your oven to 375°F (190°C). Lightly grease a 9x13-inch baking dish so the bottom layer releases easily and the top browns evenly.
- Cook the aromatics
In a large skillet over medium heat, add the ground beef or sausage along with the chopped onion. Cook until the meat is browned and the onion is soft, breaking up any large clumps with your spoon.
- Add garlic and drain
Stir in the minced garlic and cook for about 30 seconds until fragrant, then drain excess fat, leaving just a tablespoon or two in the pan for flavor.
- Simmer the filling
Pour in the crushed tomatoes, diced tomatoes, beef broth, tomato paste, basil, oregano, salt, and pepper. Bring to a gentle simmer and let it bubble for 5 to 7 minutes so the flavors meld into a rich, rosy sauce.
- Prep the potato mixture
In a bowl, whisk together the milk, heavy cream, egg, flour, garlic powder, onion powder, salt, and pepper until smooth and creamy.
- Assemble in the dish
Spread the meat tomato mixture evenly across the bottom of the prepared baking dish, creating a solid base layer for the potatoes to cling to as they bake.
- Arrange the potatoes
Lay the thin potato slices over the meat in overlapping rows, slightly overlapping like shingles so the surface is mostly covered and the edges curl just a bit.
- Pour and sprinkle
Slowly pour the milky mixture over the potatoes so they are evenly coated, then sprinkle the cheddar and Parmesan cheese over the top in an even, generous layer.
- Bake until bubbly
Bake for 35 to 40 minutes, until the edges are bubbling up around the pan and the potato top is deeply golden, with a few dark spots where it kissed the heat.
- Rest and serve
Let the hotdish rest for 10 minutes before cutting so the filling thickens slightly and the slices hold their shape, then serve with a simple green salad for a complete, nostalgic meal.
Substitutions and variations
- Use ground turkey or chicken for a lighter take on the classic beef flavor.
- Swap sharp cheddar for Monterey Jack or a dairy free cheddar shred if you prefer a milder melt.
- Replace beef broth with vegetable broth to make the dish vegetarian friendly, adding a spoonful of soy sauce for depth.
- For a gluten free version, use gluten free all purpose flour and confirm your broth is labeled gluten free.
- If you are out of heavy cream, use whole milk plus an extra tablespoon of butter for richness.
Chloe's tips
- For extra creamy potatoes, use half and half instead of whole milk and add a tablespoon of butter to the milk mixture.
- Cover the dish with foil for the first 25 minutes of baking to keep the potatoes tender, then uncover for the last 10 to finish browning.
- Slice the potatoes thinly with a mandoline for the most even cooking and a delicate texture throughout.
- Letting the dish sit briefly makes scooping tidy, since the filling firms up just enough to hold each portion together.
- For a richer flavor, use homemade beef stock or a high quality low sodium broth and season with a pinch of celery salt.
How to store it
- Cool completely, then cover and refrigerate for up to 3 to 4 days; reheat in the microwave or a low oven until piping hot.
- To freeze, assemble the dish without baking, cover tightly, and freeze for up to 2 months; thaw overnight in the fridge and bake as directed.
- Leftovers reheat well on the stovetop in a skillet over medium low heat, stirring gently to keep the potatoes intact.
Serving suggestions
Serve this classic hotdish straight from the pan for the most satisfying, bubbling experience.
- Ladle generous scoops into shallow bowls to showcase the layered top.
- Garnish with a pinch of chopped fresh parsley or a twist of black pepper for a pop of color.
- Pair with a simple crisp green salad and crusty bread for a complete Midwest style meal.
Frequently asked questions
Can I make this ahead of time and reheat later?
Yes, you can assemble the dish up to a day in advance, cover, and chill, then bake when needed. For best texture, add a few extra minutes to the baking time if going straight from fridge to oven.
Why did my potatoes turn out mushy?
Very thin slices and long simmering can make potatoes mushy. Aim for consistent thin slices, and do not over simmer the filling once the potatoes are added before baking.
Can I use sweet potatoes instead of regular potatoes?
Yes, sweet potatoes work well here; just note that they are sweeter and softer, so bake until just tender to keep some structure.
What can I do if the top is browning too quickly?
Tent the dish with foil during baking to slow browning, and uncover only for the final burst of color to keep the top tender.
Let's get cooking!
This Old Fashioned Red Hotdish captures all the warmth and generosity you look for in a weeknight classic, so go ahead, give it a whirl, and enjoy the smiles it brings to your table.