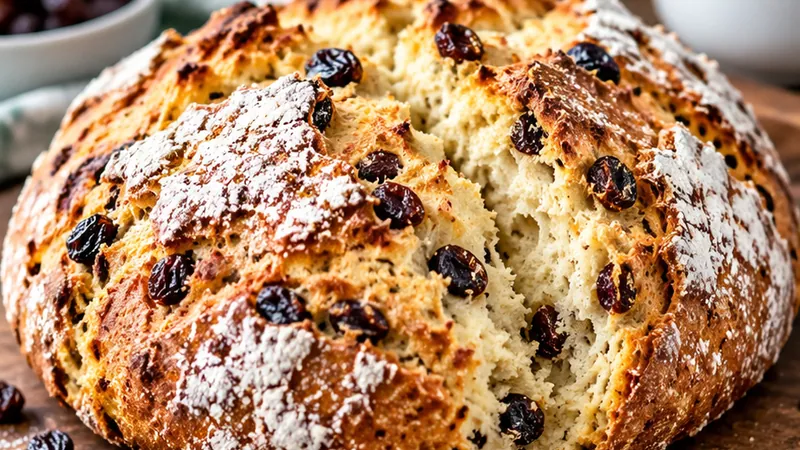
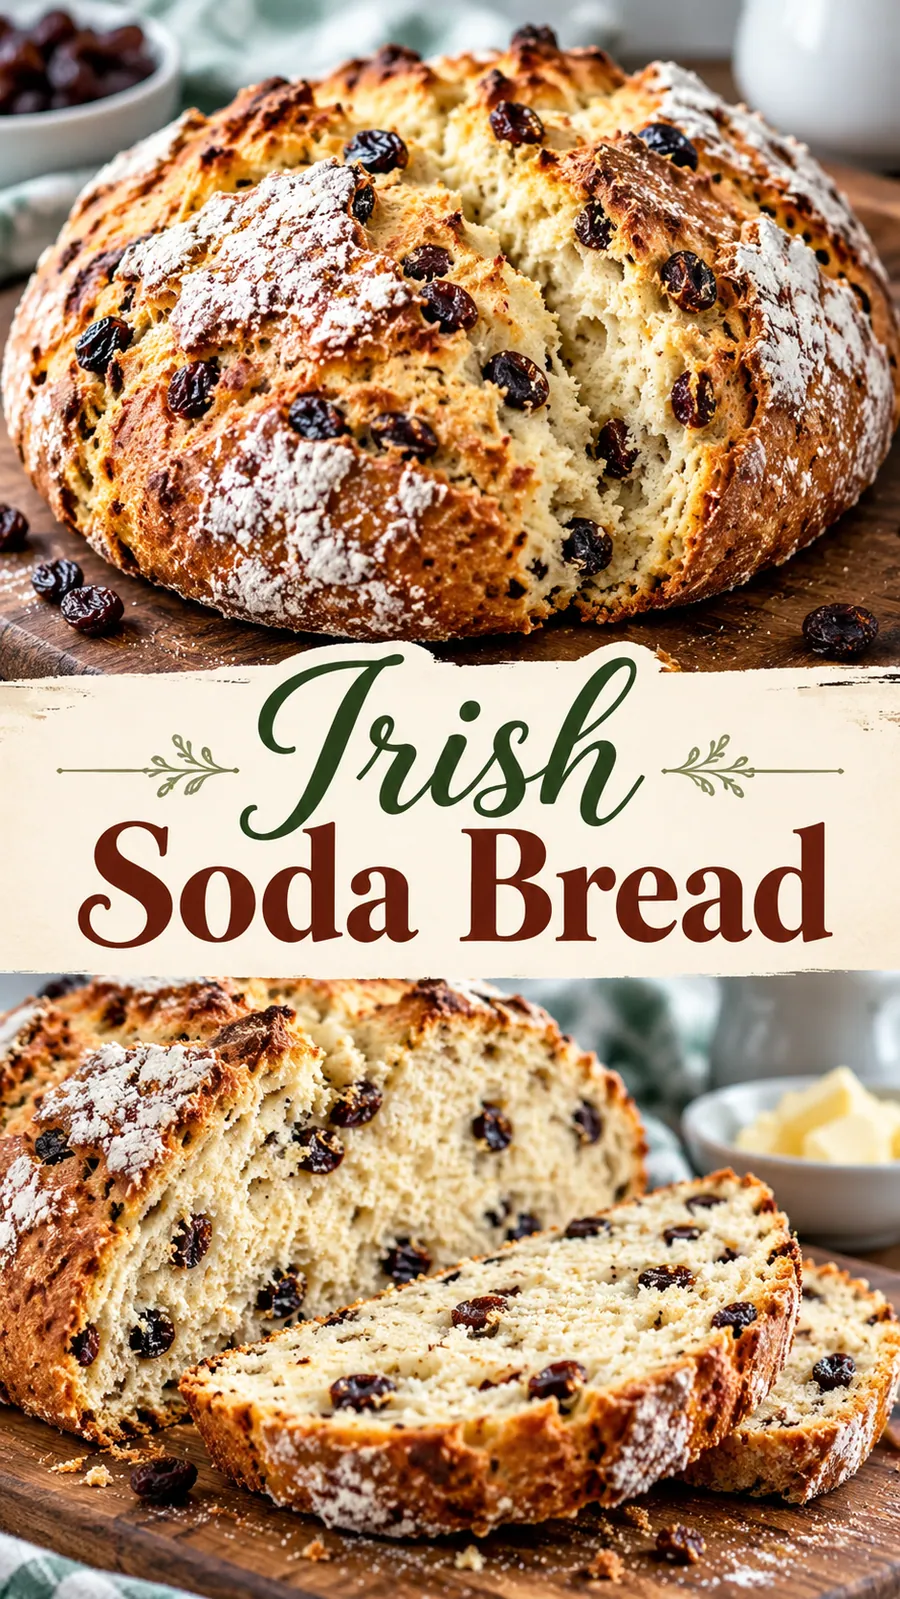
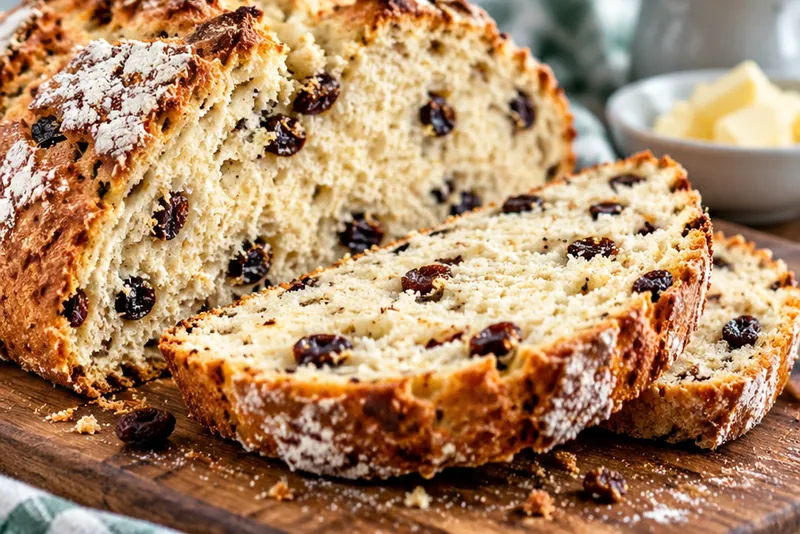
There is something wonderfully comforting about a loaf of Irish soda bread fresh from the oven. The crust is craggy and golden, the crumb is soft and slightly tangy, and the whole kitchen smells of warm buttermilk and toasted flour. One slice, still steaming, with a swipe of salted butter is hard to beat.
This is the bread to make when you want something homemade without the wait. There is no yeast and no rising, so you can go from bare counter to hot loaf in about an hour. It is perfect for St. Patrick's Day, but it also earns a spot beside soups, stews and weeknight dinners all year long.
 Save
I still remember the first time I made soda bread and was amazed that something so simple could taste so good. You stir, shape, slash a cross on top and bake. That is truly it. Once you have made it once, you will never need to look at the recipe again.
Irish Soda Bread
Ingredients
Dry Ingredients
Wet Ingredients
Instructions
- Preheat the oven
Place a rack in the center of the oven and heat it to 425°F (220°C). Line a baking sheet with parchment paper or lightly dust a cast iron skillet with flour.
- Whisk the dry ingredients
In a large mixing bowl, whisk together the flour, sugar, baking soda and salt for about 30 seconds. Whisking evenly distributes the baking soda so the loaf rises uniformly without any bitter spots.
- Cut in the butter
Add the cold cubed butter to the flour mixture. Use your fingertips to rub it in until the mixture looks like coarse crumbs with a few pea-sized pieces remaining. Work quickly so the butter stays cold.
- Add the buttermilk
Make a well in the center of the flour and pour in 1 3/4 cups of cold buttermilk all at once. Use a fork or a wooden spoon to stir from the center outward until a shaggy, sticky dough forms and no dry flour remains.
- Shape the dough gently
Turn the dough out onto a lightly floured surface. With floured hands, fold it over itself just 3 or 4 times, only until it holds together. Pat it into a round about 7 inches wide and 2 inches tall. Overworking makes the bread dense, so a light touch is key.
- Transfer to the pan
Place the round on the prepared baking sheet or skillet. Dust the top lightly with flour, then brush the surface with the extra tablespoon of buttermilk for a deeper golden crust.
- Score the cross
Dip a sharp knife in flour and cut a deep cross across the top of the loaf, about 3/4 inch deep and extending nearly to the edges. This lets heat reach the center so the bread bakes through evenly.
- Bake until golden
Bake for 15 minutes at 425°F (220°C). Without opening the oven door more than needed, reduce the temperature to 400°F (200°C) and continue baking for 30 minutes more, until the crust is deep golden brown.
- Test for doneness
Tap the bottom of the loaf. It should sound hollow, and a skewer inserted into the center should come out clean. An instant-read thermometer should register about 200°F (93°C) in the middle.
- Cool before slicing
Move the loaf to a wire rack and let it cool for at least 20 minutes. This allows the crumb to set so it slices cleanly instead of turning gummy. Slice with a serrated knife and serve warm.
Substitutions and variations
- If you do not have buttermilk, stir 1 tablespoon of lemon juice or white vinegar into 1 3/4 cups of whole milk and let it sit for 10 minutes before using.
- For a heartier loaf, replace 1 cup of the all-purpose flour with whole wheat flour and add an extra splash of buttermilk if the dough feels dry.
- To make a sweeter, more traditional American-style loaf, fold in 3/4 cup of raisins and 1 tablespoon of caraway seeds before adding the buttermilk.
- Plain Greek yogurt thinned with a little milk works in place of buttermilk when you are in a pinch.
Chloe's tips
- Keep the buttermilk and butter cold. Cold ingredients give you a more tender crumb and a better rise.
- Do not knead the dough like yeast bread. Handle it as little as possible to avoid a tough, dense loaf.
- Work quickly once the buttermilk meets the baking soda, because the rising reaction starts right away. Get the loaf into the oven within a few minutes.
- For an extra soft crust, wrap the cooled loaf in a clean kitchen towel while it finishes cooling.
- Check your baking soda date. Old baking soda loses its power and leaves the loaf flat.
How to store it
- Store the cooled loaf wrapped in a clean towel or in a paper bag at room temperature for up to 2 days. Soda bread is best on the day it is baked.
- Wrap tightly in plastic wrap and then foil, and freeze for up to 3 months. Thaw at room temperature.
- Reheat slices in a toaster or wrap the whole loaf in foil and warm in a 350°F oven for 10 to 15 minutes to refresh the crust.
Serving suggestions
Serve thick slices of this bread warm with any of these classic partners.
- Salted Irish butter and strawberry jam
- A bowl of beef stew or corned beef and cabbage
- Potato leek soup or a hearty vegetable soup
- Sharp cheddar and sliced apples for a snack plate
- Toasted the next morning with a fried egg on top
Frequently asked questions
Why is my Irish soda bread dense?
Dense soda bread is usually the result of overmixing or kneading the dough too much. Stir only until the flour is moistened, shape gently, and get the loaf into the oven quickly. Old baking soda can also cause a heavy texture.
Can I make soda bread without buttermilk?
Yes. Mix 1 tablespoon of lemon juice or white vinegar into 1 3/4 cups of whole milk, let it stand for 10 minutes, and use it as a one to one replacement for buttermilk. The acid is what activates the baking soda.
Why do you cut a cross on top of soda bread?
The deep cross helps heat reach the center of the thick loaf so it bakes evenly. Traditionally it was also said to let the fairies out or to ward off bad luck, which adds a charming bit of folklore.
How do I know when the bread is done?
The crust should be deep golden brown and the bottom should sound hollow when tapped. A skewer in the center should come out clean, and an instant-read thermometer should read about 200°F.
Let's get cooking!
Irish soda bread proves that the best things in the kitchen are often the simplest. Grab a bowl, stir together a few humble ingredients and let your oven do the rest. Soon you will be pulling out a gorgeous golden loaf and sharing it with the people you love.