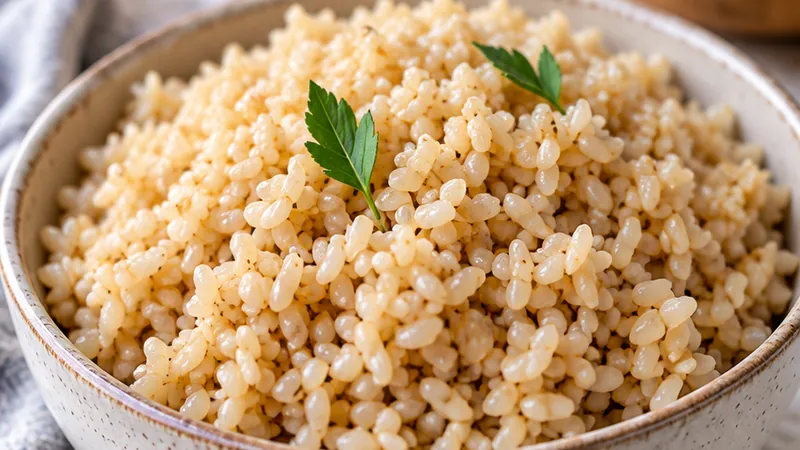
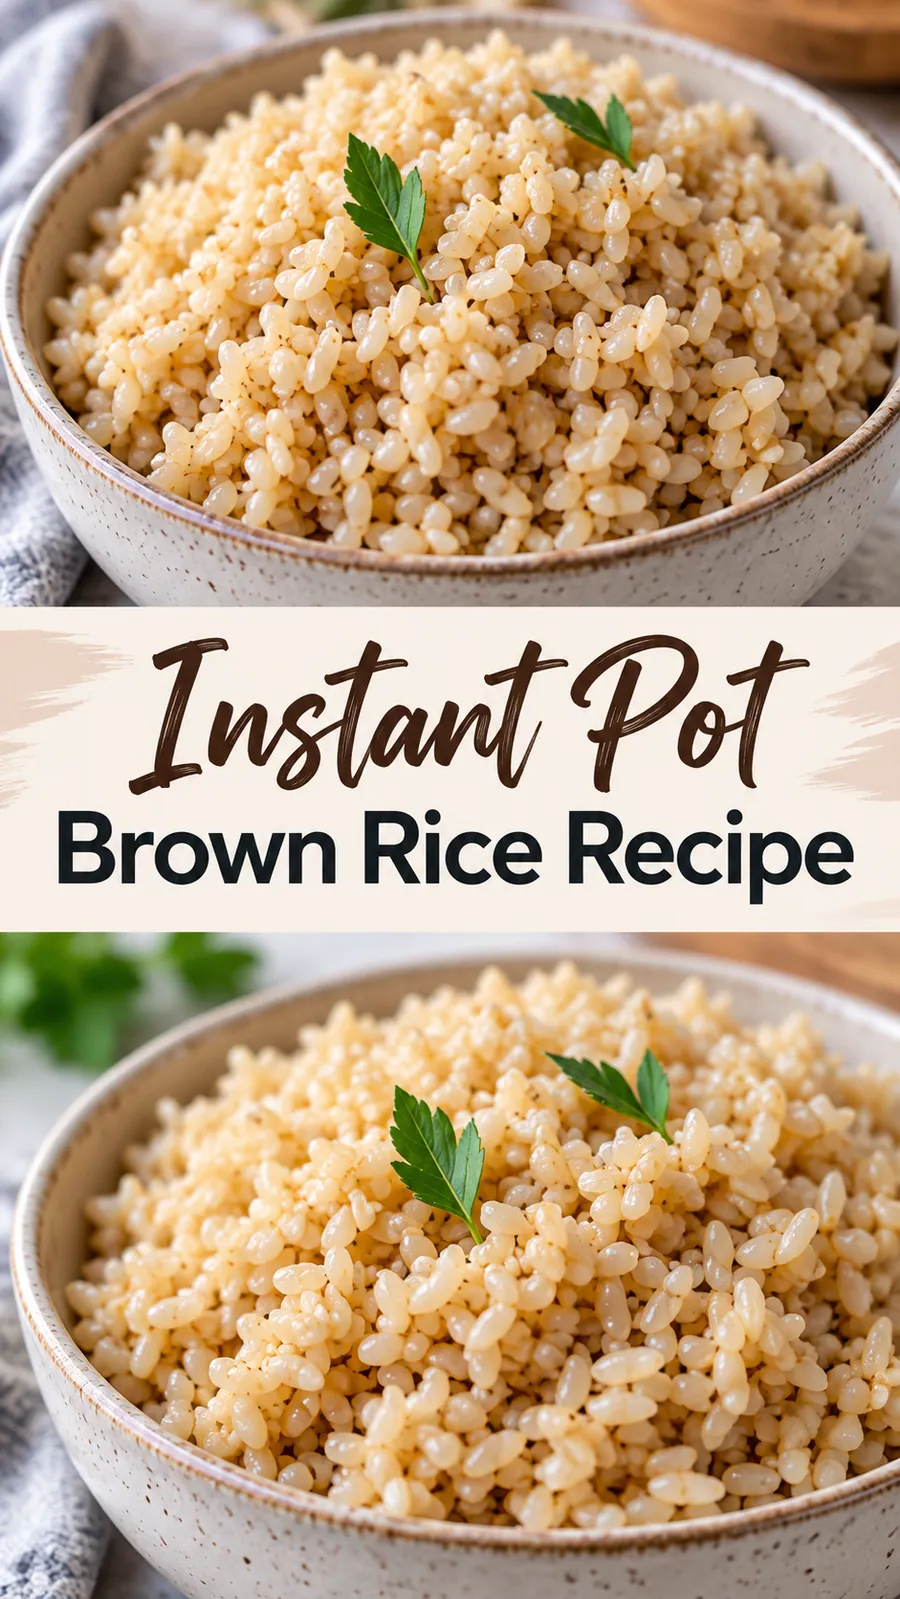
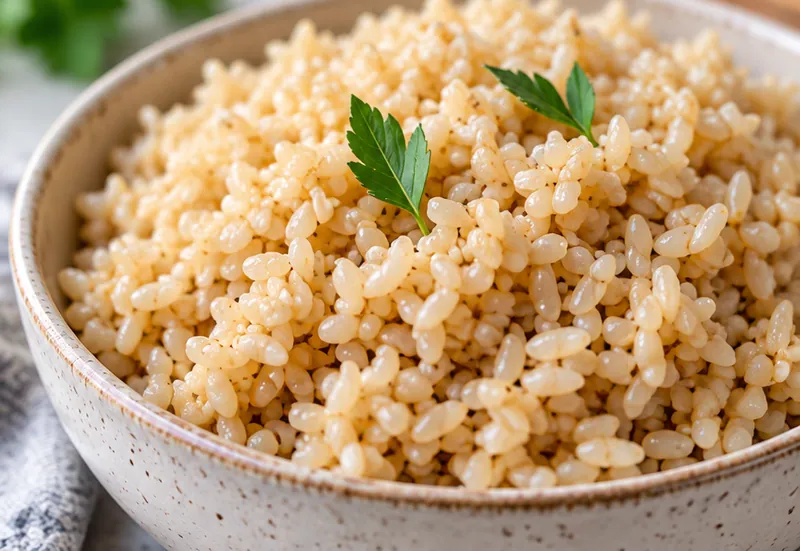
There is something so satisfying about scooping up perfectly cooked brown rice that is tender but still has a pleasant bite, each grain separate and light, especially when it releases that warm, toasty fragrance as you stir.
You will want to make this Instant Pot Brown Rice on busy weeknights when you need a healthy, hands off side dish, or when you are meal prepping and want consistent results without hovering over the stove.
 Save
SaveI remember the first time I tried this in my Instant Pot, I was amazed at how foolproof it felt and how the kitchen stayed cool while a pot of delicious rice was working away, it felt like a little everyday win.
Instant Pot Brown Rice Recipe
Ingredients
Instructions
- Rinse the rice
Place the brown rice in a fine mesh strainer and rinse under cold running water for about 30 seconds, gently stirring the grains, until the water runs mostly clear. This helps remove excess surface starch so the cooked rice is less sticky.
- Combine in the Instant Pot
Add the rinsed rice, water, and salt to the inner pot of the Instant Pot and stir gently to combine. Make sure the rice is spread in an even layer across the bottom for more uniform cooking.
- Seal and set the valve
Secure the lid on the Instant Pot and make sure the steam release handle is set to the sealing position so pressure can build during cooking.
- Pressure cook on high
Select the high pressure setting and set the timer for 12 minutes. This gives tender, fully cooked brown rice with a good bite.
- Let the pressure release naturally
Allow the Instant Pot to naturally release pressure for 10 minutes, then carefully turn the steam release handle to the venting position to release any remaining pressure. This natural step helps the rice finish steaming and become light.
- Fluff the rice
Remove the lid away from your face to avoid the burst of steam, then use a fork to gently fluff the rice. This separates the grains and gives a nice, light texture.
- Adjust moisture if needed
If the rice seems a little wet, turn the Instant Pot to the sauté setting and cook for another 2 to 3 minutes, stirring frequently, until the excess moisture evaporates.
- Season and serve
Taste the rice and add a pinch more salt if desired. Serve warm as a side dish or use as a base for bowls, stir fries, or grain salads.
- Cool and store leftovers
Let leftover rice cool to room temperature before transferring it to an airtight container and refrigerating for up to 4 days.
- Reheat gently
Reheat the rice in the microwave with a splash of water or in the Instant Pot on the rice setting, fluffing it again after heating to restore the texture.
Substitutions and variations
- Use vegetable broth instead of water for a richer flavor.
- Try quinoa in a 1 to 2 ratio if you want a protein boost.
- Replace with white rice if you prefer a softer, quicker cooking option.
- Add a tablespoon of olive oil or butter to help keep the grains separate.
- Swap in lemon juice for a subtle brightness before serving.
Chloe's tips
- Measure the rice and water level after rinsing for more consistent results.
- Do not skip the natural release, it helps the rice finish cooking gently and keeps the grains separate.
- Use a good quality long grain brown rice for the best texture and cooking performance.
- Add a pinch of oil or a small knob of butter to the cooking water to further help keep the grains from sticking together.
How to store it
- Store cooked rice in an airtight container in the refrigerator for up to 4 days.
- Reheat in the microwave or the Instant Pot rice setting, adding a tablespoon of water per cup and fluffing after heating.
Serving suggestions
Serve this fluffy Instant Pot Brown Rice as a satisfying base for your favorite proteins and vegetables.
- Pair with grilled chicken or tofu for a balanced dinner
- Toss into vegetable stir fries for extra texture
- Use as a base for grain bowls with roasted veggies and a drizzle of tahini sauce
- Serve alongside your next pot of soup for a comforting, homemade touch
Frequently asked questions
Why is my brown rice mushy or sticking together?
Brown rice can become mushy if the rice is not rinsed well to remove excess starch, or if too much water is used. Try rinsing the rice thoroughly, using the correct water ratio, and letting the natural release and careful fluffing help create separate, light grains.
Can I cook rice with other ingredients in the Instant Pot
Yes, you can add aromatics like garlic or onion, and for more flavor use broth instead of water, just keep the total liquid at about 2 to 2 and a half cups for 1 cup of brown rice and adjust the time if needed.
How many cups of cooked rice does 1 cup of dry brown rice yield
One cup of dry long grain brown rice typically yields about 3 cups of cooked rice, which is close to the 6 servings noted for this recipe.
Can I make larger batches
Yes, you can easily double or triple the recipe, but check your Instant Pot’s max fill line and consider cooking in two batches for even results if needed.
Let's get cooking!
This Instant Pot Brown Rice Recipe makes reliably fluffy, nutty rice with almost no effort, so it is perfect for busy weeknights and meal prep alike, and you can feel confident serving it at your next table.